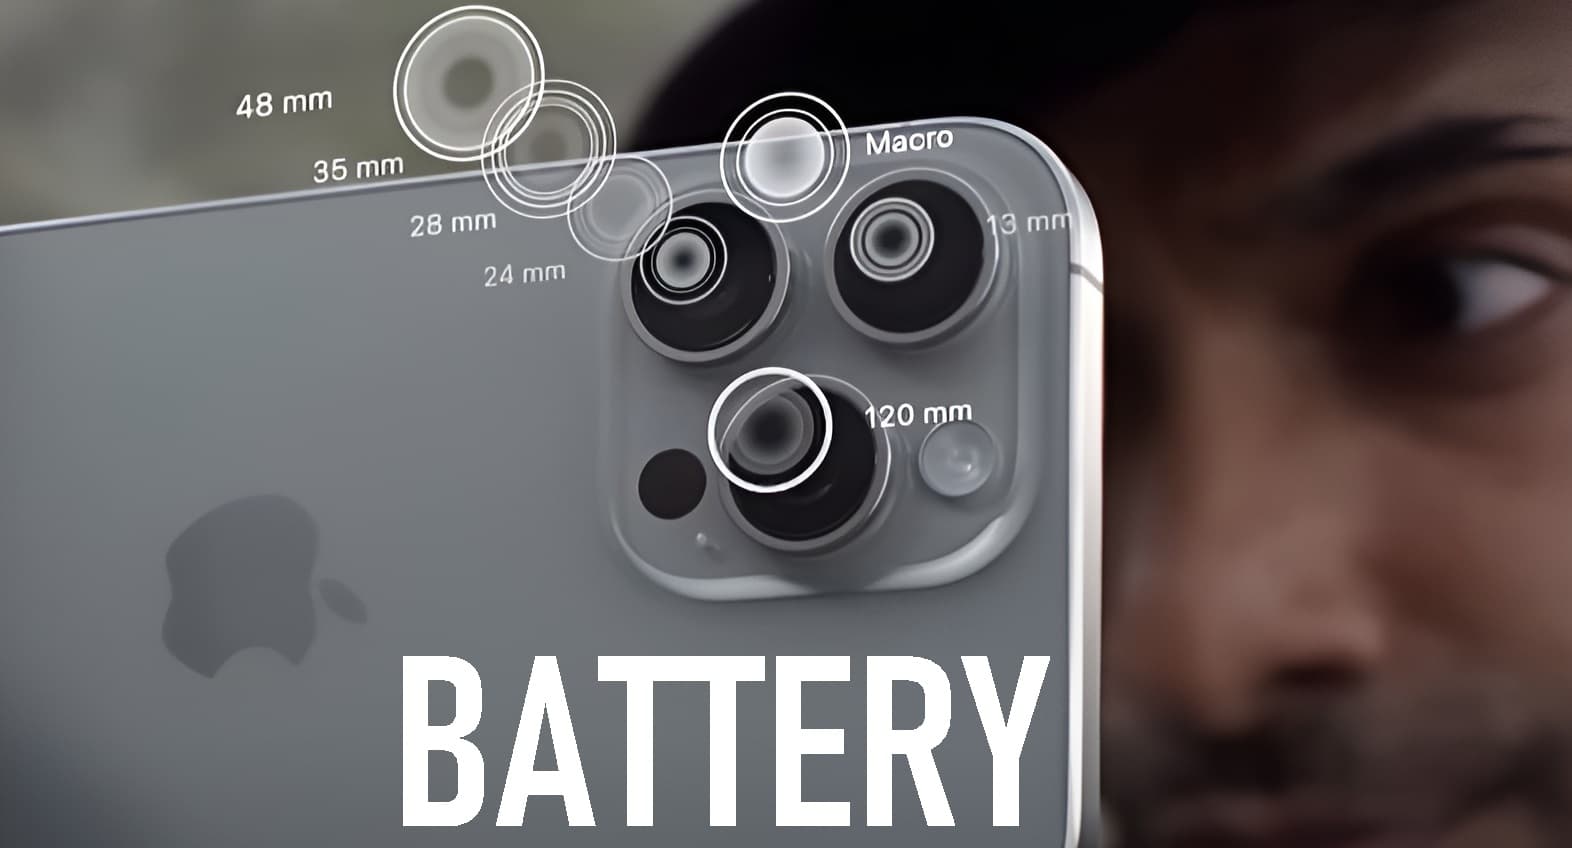
Smartphone cameras have come a long way, offering powerful features that let you capture stunning images right from your pocket. Whether you’re aiming for detailed close-ups, perfect portraits, or crisp low-light shots, knowing how to use your smartphone camera effectively is key. Here’s a comprehensive guide to help you get the most out of your mobile photography.

Tips for Better Mobile Macro Photography
1. Use a Steady Hand or Tripod:
Macro photography requires precision. Even the slightest shake can blur your shots. Use a steady hand or a tripod to keep your phone stable.
2. Get Close but Not Too Close:
Find the optimal distance where your phone’s macro lens can focus sharply on the subject. Too close and you might lose focus; too far and you won’t capture the fine details.
3. Utilize Natural Light:
Natural light is often the best for macro shots. It helps reveal textures and details without harsh shadows. Avoid direct sunlight which can cause overexposure.
4. Clean Your Lens:
A clean lens is essential for sharp macro shots. Gently wipe the lens before taking photos to remove any smudges or dust.
5. Use Focus Lock:
Most smartphone cameras have a focus lock feature. Tap on the area you want in focus and lock it in place to ensure your subject is sharp.
How to Master Portrait Mode Photography
1. Find the Right Lighting:
Natural, diffused light is ideal for portrait photography. Position your subject near a window or in soft, even light to avoid harsh shadows and highlights.
2. Use the Portrait Mode Properly:
Portrait mode on smartphones uses depth sensors and AI to blur the background and highlight the subject. Ensure your subject is well-lit and at the right distance for the effect to work best.
3. Focus on the Eyes:
The eyes are the focal point of a portrait. Make sure they are sharp and in focus to draw viewers’ attention to the subject.
4. Experiment with Angles:
Try different angles and compositions. Shooting from slightly above the subject can often create a flattering perspective.
5. Avoid Busy Backgrounds:
Keep the background simple to ensure the subject stands out. A cluttered background can distract from the main focus of the photo.
Best Settings for Low-Light Photography on Phones
1. Enable Night Mode:
Most modern smartphones come with a night mode specifically designed for low-light conditions. This mode increases exposure time and enhances details.
2. Use a Steady Surface:
To avoid blurriness in low light, place your phone on a stable surface or use a tripod. This helps keep the phone steady during longer exposure times.
3. Adjust Exposure Manually:
If your phone allows, manually adjust the exposure settings. Increasing the exposure can help capture more light, but be careful not to overexpose your photo.
4. Increase ISO:
A higher ISO setting can make your camera more sensitive to light, improving performance in dim conditions. However, this can also introduce noise, so find a balance.
5. Avoid Digital Zoom:
Zooming in digitally can reduce image quality, especially in low light. Instead, try to get closer to your subject or crop the image afterward.
How to Use Ultra-Wide Lenses Effectively
1. Embrace the Wide Perspective:
Ultra-wide lenses are great for capturing expansive landscapes, large groups, or tight spaces. Use them to include more in your frame.
2. Watch for Distortion:
Wide-angle lenses can cause distortion at the edges of your photos. Position your subject in the center of the frame to minimize this effect.
3. Get Creative with Angles:
Experiment with different angles and compositions. Ultra-wide lenses can create dramatic effects and new perspectives.
4. Use the Lens for Depth:
Create a sense of depth by including foreground elements in your shot. This technique adds interest and helps guide the viewer’s eye through the image.
5. Avoid Overusing the Lens:
While ultra-wide lenses are versatile, they aren’t always the best choice. Use them when they add value to the composition rather than just for the sake of it.
Tips for Capturing Crisp, Clear Photos on Phones
1. Clean Your Lens Regularly:
A dirty lens can cause blurry photos. Make a habit of cleaning your lens to ensure sharp images.
2. Use the Right Focus:
Tap on the screen where you want the camera to focus. Ensure your subject is in sharp focus before taking the shot.
3. Utilize the Grid Lines:
Enable grid lines in your camera settings to help with composition. They can assist in keeping your photos level and well-framed.
4. Use HDR Mode:
High Dynamic Range (HDR) mode helps capture more detail in both bright and dark areas of a photo. It’s useful for scenes with varying light levels.
5. Avoid Zooming In:
Digital zoom can reduce image quality. Instead, try to get closer to your subject or crop the image later.
How to Get the Most Out of Your Smartphone Camera
1. Explore Camera Settings:
Take time to explore your phone’s camera settings. Understanding features like manual controls, filters, and modes can enhance your photography.
2. Keep Your Software Updated:
Camera improvements are often included in software updates. Ensure your phone’s software is up to date to benefit from the latest features and enhancements.
3. Practice Regularly:
The more you use your camera, the better you’ll understand its capabilities. Practice different techniques and settings to improve your skills.
4. Review and Learn:
Review your photos to understand what worked and what didn’t. Learning from your shots helps you refine your technique and get better results.
5. Use Editing Apps:
Editing apps can enhance your photos by adjusting colors, cropping, and applying filters. Experiment with different apps to find the ones that best suit your style.
The Role of HDR in Smartphone Photography
1. Enhanced Dynamic Range:
HDR (High Dynamic Range) captures multiple exposures of the same scene and combines them to create a photo with greater detail in both shadows and highlights.
2. Use for High Contrast Scenes:
HDR is particularly useful for scenes with high contrast, such as a landscape with both bright skies and dark foregrounds.
3. Avoid Overuse:
While HDR can improve photos, overusing it can result in unnatural-looking images. Use HDR selectively for the best results.
4. Compare Before and After:
Many smartphones allow you to compare HDR and non-HDR versions of your photo. Check which version looks better before finalizing your shot.
Understanding Depth in Portrait Photography
1. Depth of Field:
Depth of field refers to the area in focus in your photo. A shallow depth of field, achieved by using portrait mode, helps blur the background and make the subject stand out.
2. Use Depth Sensors:
If your phone has depth sensors, they help create a more accurate separation between the subject and background, enhancing the portrait effect.
3. Adjust Aperture Settings:
If your phone allows, adjust the aperture settings to control the depth of field. A lower f-number creates a shallower depth of field.
4. Create Depth Through Composition:
In addition to using technical features, you can also create a sense of depth through composition by including foreground and background elements.
How to Edit Smartphone Photos for Better Results
1. Crop and Straighten:
Cropping can help improve composition and remove unwanted elements. Straightening the photo ensures that it’s aligned properly.
2. Adjust Brightness and Contrast:
Fine-tune the brightness and contrast to enhance the details and make your photo more visually appealing.
3. Use Filters Sparingly:
Filters can enhance your photo but can also alter its natural look. Use them sparingly to maintain the authenticity of your images.
4. Sharpen and Reduce Noise:
Adjust sharpening settings to enhance details and use noise reduction tools to smooth out grainy areas.
5. Save and Share in High Quality:
When saving your edited photos, choose high-resolution settings to ensure they retain quality when shared or printed.
How to Avoid Common Smartphone Photography Mistakes
1. Don’t Forget to Focus:
Always ensure your subject is in focus before taking a photo. Blurry images are often the result of poor focusing.
2. Avoid Overexposure:
Be mindful of lighting conditions to avoid overexposed photos. Use features like HDR or adjust exposure settings to correct this.
3. Don’t Rely on Digital Zoom:
Digital zoom can degrade image quality. Instead, use optical zoom if available or crop the image afterward.
4. Watch Out for Cluttered Backgrounds:
Ensure that your background doesn’t distract from your subject. A clean background helps keep the focus on the main subject.
5. Avoid Relying on Auto Mode Alone:
While auto mode is convenient, exploring manual settings can give you more control over your photos and help you achieve better results.
Conclusion
Mastering smartphone photography involves understanding your camera’s features, experimenting with settings, and applying practical tips to enhance your photos. Whether you’re capturing detailed macro shots, stunning portraits, or clear low-light images, these tips will help you make the most of your smartphone camera. Keep practicing, exploring new techniques, and using editing tools to take your mobile photography to the next level.


