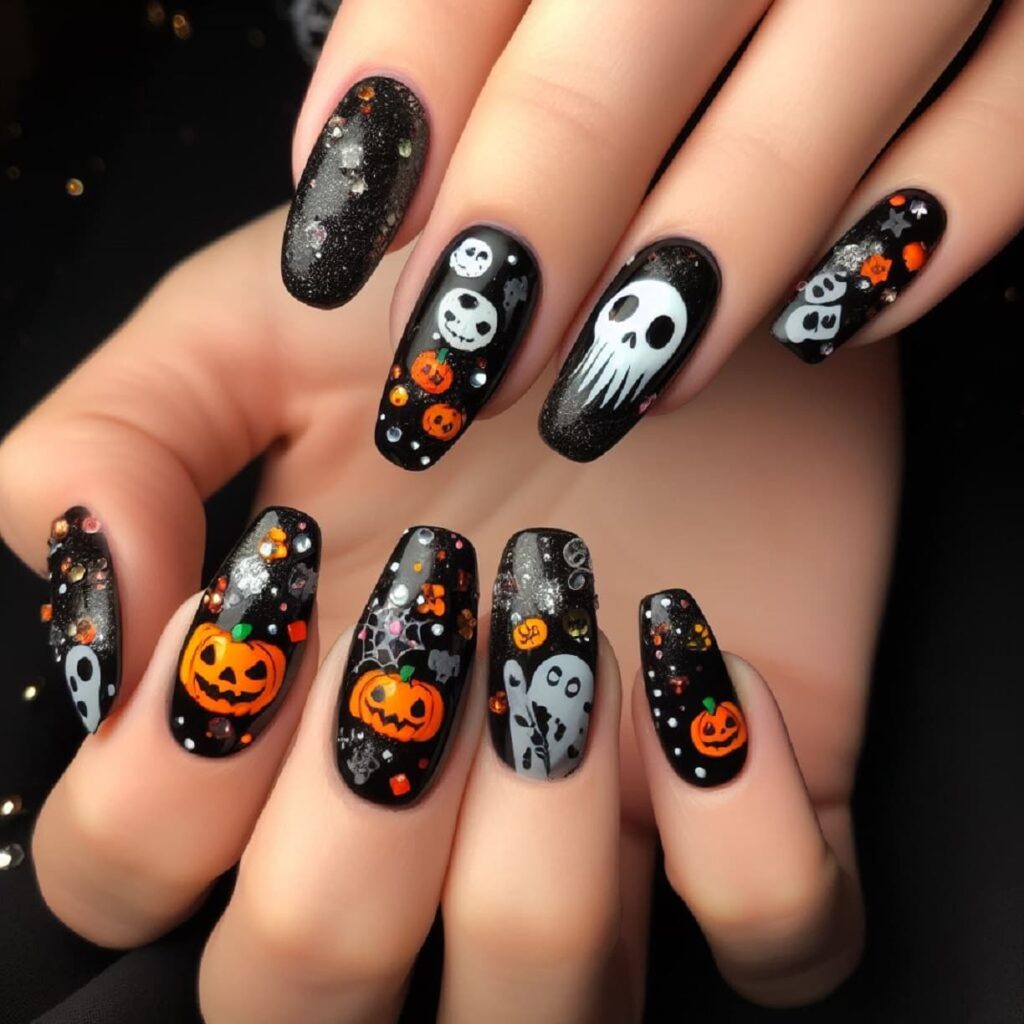
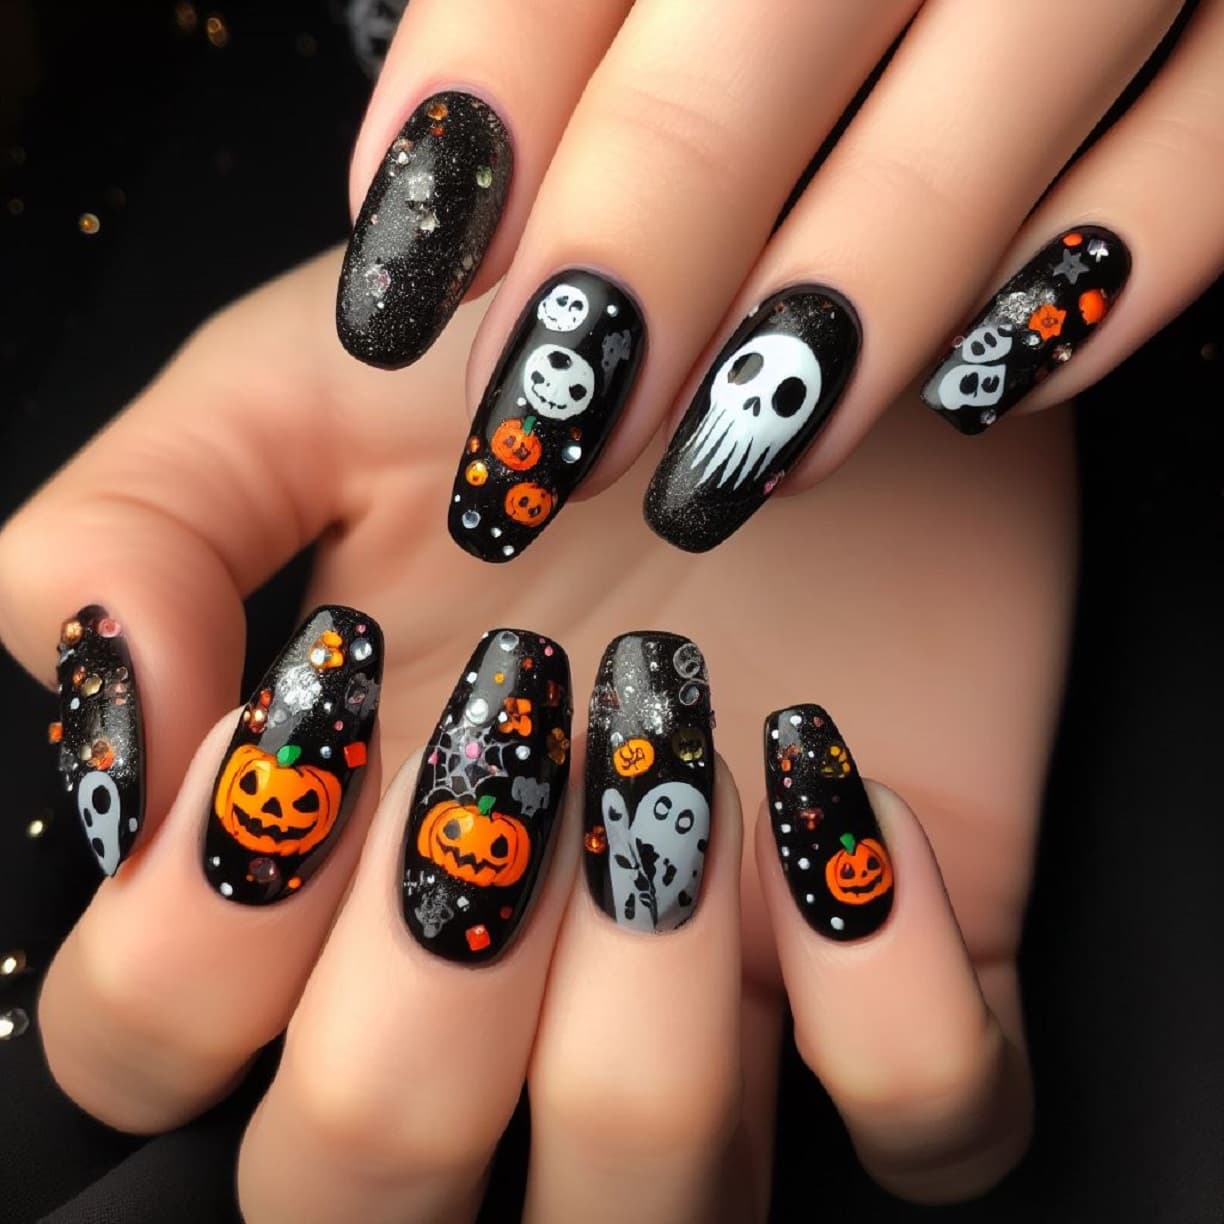
Halloween, the spookiest time of the year, is upon us, and what better way to embrace the spirit of the season than with a mesmerizing manicure? Halloween nails are all the rage, and it’s the perfect opportunity to let your creativity run wild. In this article, we will explore the world of Halloween nail art, from ghostly ghouls to wicked witches, and offer you tips, tricks, and real-life examples to make your Halloween nails stand out from the crowd.
The Art of Halloween Nails
Why Halloween Nails?
Before we dive into the fascinating world of Halloween nail art, you might wonder, why bother with Halloween nails in the first place? Well, there are several compelling reasons to get your claws in on the spooky action:
- Express Yourself: Halloween nails offer a fun and expressive way to show off your personality and love for the season.
- Costume Complement: Sometimes, you don’t need an elaborate costume when your nails steal the show. They can be the perfect complement to your outfit.
- Attention Grabber: A well-executed Halloween nail design can be a conversation starter and an attention-grabber at parties and gatherings.
- Instagram-Worthy: In the age of social media, a great set of Halloween nails is just waiting to be shared on your Instagram or other platforms.
- Temporary Art: Halloween nails are like wearable art that lasts for a few weeks. You can change them up as often as you like, experimenting with different designs.
- Fun for All Ages: Halloween nail art is not limited to any specific age group. Kids, teenagers, and adults can all enjoy the thrill of nail painting during this spooky season.
The Basics of Halloween Nail Art
Before you start conjuring up your Halloween nail masterpiece, it’s essential to understand the basics:
Nail Prep: Make sure your nails are clean, trimmed, and well-shaped. A smooth canvas makes the application and longevity of nail art much easier.
Base Coat: Always start with a base coat. This not only helps your nail polish adhere better but also prevents staining.
Color Palette: Halloween-themed colors typically include black, orange, white, and green, but don’t be afraid to get creative with purples, blues, and even metallics.
Tools of the Trade: Gather essential tools like nail polish, nail brushes, dotting tools, and nail stickers. You can also use household items like toothpicks and tape to create various effects.
Top Coat: Finish your Halloween nail art with a top coat to seal the design and add shine. This step is crucial for preserving your nail art for as long as possible.
Patience and Practice: Remember, practice makes perfect. Don’t get discouraged if your first attempt doesn’t turn out exactly as you imagined. Keep practicing, and you’ll improve with time.
Spooky Nail Art Ideas
Now, let’s delve into some spine-tingling Halloween nail art ideas that are sure to make your fingertips the center of attention:
| Halloween Nail Idea | Description |
|---|---|
| 1. Creepy Cobwebs | Paint a black base and create intricate spider webs with white nail polish. Add a tiny plastic spider for a spooky touch. |
| 2. Ghostly Ghouls | Create adorable ghost faces on an orange background. These playful specters are easy to paint and perfect for Halloween. |
| 3. Wicked Witches | Use deep green and black polish to craft witchy silhouettes with pointy hats and broomsticks. Add a moonlit night background for extra drama. |
| 4. Vampire Fangs | Paint your nails black and add menacing vampire fangs in white or red. It’s a fang-tastic choice for a classic Halloween look. |
| 5. Pumpkin Patch | Show off your artistic skills by painting intricate jack-o’-lanterns on each nail. The level of detail is up to you! |
These are just a few ideas to get your creative juices flowing. Feel free to mix and match or even come up with your own unique designs.

Tips and Tricks for Halloween Nail Perfection
1. Layering for Depth
Layering different shades of nail polish can add depth and dimension to your Halloween nail art. For example, if you’re creating a haunted forest scene, layering different shades of green and brown can give the illusion of depth within the trees.
2. Nail Stickers and Decals
Nail stickers and decals are a quick and easy way to add intricate designs to your Halloween nails. You can find a wide variety of spooky options, from bats to witches to haunted houses. These can save you time and effort, especially if you’re not confident in your freehand painting skills.
3. Gradient Nails
Create a gradient effect by blending two or more nail polish colors. This technique is excellent for creating spooky backgrounds or ombre effects. For instance, a gradient from black to orange can give your nails a fiery, bewitching look.
4. Matte vs. Glossy Finish
Consider the finish of your nail polish. A glossy finish adds shine and elegance, while a matte finish gives your nails a more mysterious and subdued look. Experiment with both to see which suits your Halloween nail art better.
5. Accent Nails
Not every nail has to be elaborately designed. You can choose one or two nails on each hand to be the focal point of your design. This allows you to create intricate designs without overwhelming your entire manicure.
6. Realistic vs. Cartoonish
Decide on the style you want for your Halloween nails. Realistic designs can be stunning, but cartoonish or playful options can be equally fun and creative. For instance, a cute ghost face can be just as charming as a spooky, realistic one.
7. Embrace Imperfections
Remember that Halloween nail art is all about having fun and embracing the spirit of the season. Don’t stress over minor imperfections or uneven lines. Sometimes, those quirks can add character to your design.
Real-Life Examples
To inspire your Halloween nail art journey, let’s take a look at a few real-life examples:
Example 1: The Witch’s Spell

In this stunning example, the nail artist has used a dark green base and added a wicked witch silhouette on each nail. The details on the witch’s hat and broomstick are meticulously painted, creating a spooky yet stylish design.
Example 2: Mummy Madness

Mummies are classic Halloween creatures, and this nail art perfectly captures the essence of wrapped-up spookiness. With a white base, carefully applied black lines, and a few strategically placed googly eyes, these nails are both eerie and amusing.
Example 3: Pumpkin Party

Pumpkins are synonymous with Halloween, and this nail art idea takes them to the next level. Each nail features a different jack-o’-lantern expression, from spooky to silly. The vibrant orange color and expressive details make these nails
pop.
Example 4: Haunted House

This nail design transports you to a haunted mansion. The artist used dark, moody colors and carefully painted a spooky house, complete with a full moon in the background. These nails tell a captivating Halloween story.
Top Halloween Nail Trends
Halloween nail trends evolve every year, with new and exciting designs taking center stage. Here are some of the top trends for Halloween nails in recent years:
| Halloween Nail Trend | Description |
|---|---|
| 1. Glow-in-the-Dark Nails | Paint your nails with glow-in-the-dark polish or add glow-in-the-dark elements to your design for an eerie effect in low light. |
| 2. Negative Space Nails | Leave certain areas of your nails unpainted to create a negative space effect. This adds an intriguing twist to your Halloween nail art. |
| 3. Dripping Blood Nails | Create the illusion of dripping blood using red nail polish. These nails are perfect for a gory Halloween look. |
| 4. Sugar Skulls | Sugar skulls are a classic Day of the Dead design that has gained popularity for Halloween. They can be intricate and colorful, making them a striking choice. |
| 5. Crystal Ball Nails | Add tiny crystals or rhinestones to your nails for a mystical, crystal ball-like effect. It adds an elegant touch to your Halloween look. |
These trends give you a taste of the ever-evolving world of Halloween nail art. Don’t be afraid to experiment and combine elements from different trends to create your own unique style.
Maintaining Your Halloween Nails
Your Halloween nail art might be a work of art, but it won’t last forever. Here are some tips for maintaining your spooktacular nails:
- Avoid Harsh Chemicals: Household cleaning agents and certain personal care products can damage your nail art. Wear gloves when working with harsh chemicals.
- Use Cuticle Oil: Apply cuticle oil regularly to keep your nails and the surrounding skin hydrated. This helps prevent chipping and keeps your nails looking fresh.
- Top Coat Touch-Ups: Reapply a top coat every few days to maintain the shine and integrity of your Halloween nail art.
- Be Gentle: Be mindful of your nails in everyday activities. Avoid using your nails as tools, which can cause chips and cracks.
- Safe Removal: When it’s time to remove your Halloween nail art, use a gentle nail polish remover and avoid excessive scrubbing, which can damage your nails.
Conclusion
Halloween nails are a delightful way to embrace the spooky season, express your creativity, and enjoy some festive fun. Whether you’re a beginner or an experienced nail artist, there’s a Halloween nail design for everyone. From creepy cobwebs to whimsical ghosts, your nails can be the ultimate accessory to your Halloween look.
Remember, the key to perfect Halloween nails is practice and patience. Don’t be afraid to experiment, and most importantly, have fun with your designs. You’ll be amazed at the spooktacular results you can achieve, and your nails will be the talk of the town come Halloween night.
So, go ahead and unleash your inner creativity, and let your Halloween nails shine brighter than a full moon on a dark and spooky night!


